


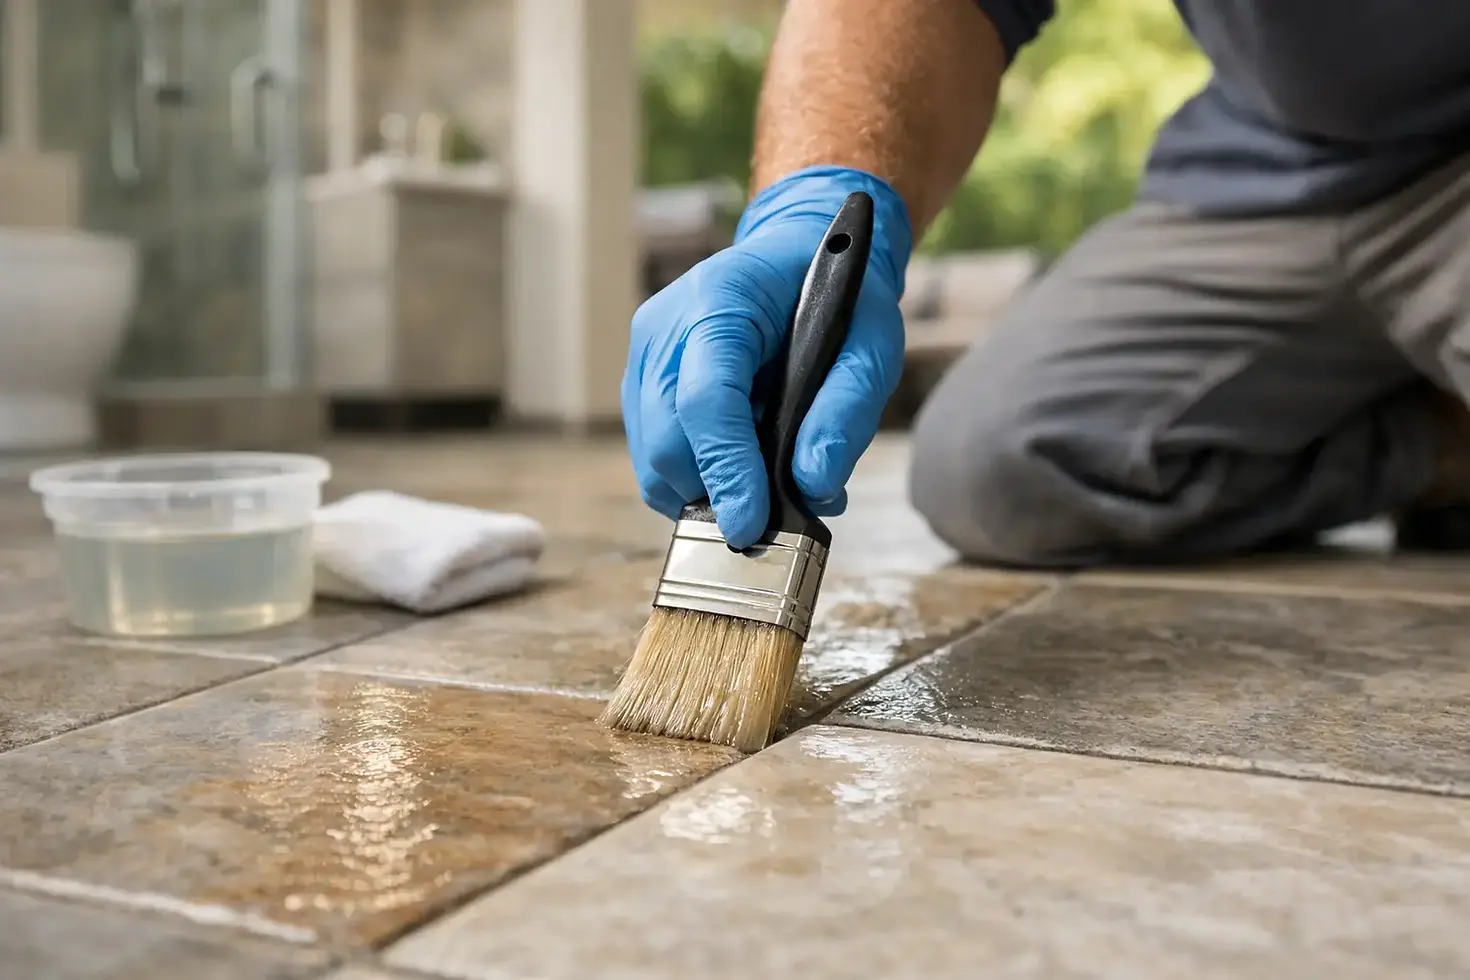
How to Seal Stone Tiles Without Costly Mistakes
A pale limestone floor can look spotless on installation day, then show one dark mark from a dropped drink a week later. That is why learning how to seal stone tiles properly matters. Done well, sealing helps protect the natural surface without changing the character that made you choose stone in the first place. Done poorly, it can leave a sticky film, patchy sheen or areas that attract dirt.
Stone sealing is not a one-product job. The right approach depends on the stone, its finish, where it is installed and the sealer manufacturer’s instructions. A bathroom wall, a busy kitchen floor and an exposed Brisbane patio all face different conditions.
What sealing stone tiles actually does
Most natural stone has tiny pores. Marble, travertine, limestone, sandstone and some slate can absorb water, oils and coloured spills through those pores. A quality penetrating or impregnating sealer sits below the surface and slows that absorption. It gives you more time to wipe up a spill before it becomes a stain.
A sealer does not make stone stain-proof, scratch-proof or waterproof. Red wine, cooking oil, leaf tannins, rust and harsh chemicals can still mark stone, particularly if left in place. It is a protective layer, not a licence to neglect cleaning.
It is also important not to confuse tile sealing with waterproofing. In a shower or other wet area, waterproofing is the concealed membrane system behind the tiles. It must be installed correctly before tiling, in line with the applicable requirements. Sealing the face of stone tiles cannot fix a failed membrane, a leaking shower recess or poor drainage.
First, identify the stone and finish
Before buying a sealer, confirm exactly what you have. Many tiles sold as “stone look” are porcelain or ceramic, and they generally do not need the same treatment as natural stone. Applying a stone sealer to porcelain may achieve little and can leave residue if it is not buffed off correctly.
Natural stone varies considerably. Honed limestone and unfilled travertine are often quite absorbent. Slate may need sealing to reduce staining and make cleaning easier, but the product choice should suit its textured surface. Dense, polished granite or marble may absorb very little sealer, particularly after previous treatment.
The finish matters as much as the stone type. A penetrating sealer is usually the practical choice for residential floors, walls and outdoor areas because it preserves a natural look. Enhancing sealers deepen the colour and can create a wet-look appearance, which some homeowners like on slate or travertine. Test first, because enhancement is often difficult to reverse.
Avoid choosing a glossy topical coating simply to make stone look shiny. Coatings can wear unevenly, peel in high-traffic areas and become slippery when wet. They are not suitable for every stone or location.
Do a small test area
Always test the proposed sealer on an offcut or in a discreet spot. Apply it exactly as directed, allow it to cure and check it in daylight. Look for unwanted darkening, streaks, excess sheen or a change in slip resistance.
A simple water-drop test can help indicate whether the stone is absorbing moisture: place a few drops of clean water on the surface and watch whether they darken the tile. It is only a guide, not proof that sealing is or is not required. The stone supplier’s advice and the sealer’s stated suitability should lead the decision.
How to seal stone tiles step by step
Good preparation makes more difference than rushing through extra coats. Set aside enough time to clean, dry, apply and cure the surface properly.
1. Let new tile work cure fully
Do not seal freshly laid stone because it looks dry on the surface. Adhesive, grout and moisture beneath the tiles need time to cure. Follow the adhesive, grout and sealer manufacturers’ curing periods, as they can differ depending on products and site conditions.
For new installations, an installer may apply a light pre-seal to the tile face before grouting where the stone is particularly porous. This can make grout haze easier to remove. It must be planned carefully so sealer is not carried into the grout joints or onto tile edges where it could affect bonding.
2. Clean without damaging the stone
Remove dust, grout haze, old cleaner residue, wax, grease and any existing stains before sealing. Once a stain is trapped beneath a sealer, it may be harder to treat.
Use a cleaner made for your stone type, then rinse as directed. Do not reach for vinegar, lemon juice, acidic bathroom cleaners or harsh bleach on marble, travertine or limestone. Acid can etch calcium-based stone, leaving dull marks that sealing will not repair.
If there is a stubborn stain, white haze, mould or old coating, it is sensible to get advice before proceeding. Strong stripping products and aggressive scrubbing can cause permanent damage, especially on polished stone.
3. Allow the tiles to dry right through
The stone and grout need to be genuinely dry, not just free of visible water. Moisture inside the pores can stop a penetrating sealer from soaking in evenly and may lead to a cloudy finish.
Drying time depends on the tile’s porosity, weather, ventilation and whether the area has recently been cleaned. In humid conditions or enclosed bathrooms, allow extra time. Keep the room ventilated, but do not apply sealer in direct sun or on a hot surface that causes it to flash dry.
4. Apply a suitable penetrating sealer evenly
Read the product label before opening the bottle. Check its suitability for your specific stone, indoor or outdoor use, food-preparation areas and wet locations. Wear gloves, maintain ventilation and protect nearby timber, painted surfaces and fittings.
Apply a manageable amount with the recommended applicator, commonly a clean microfibre cloth, lambswool applicator, pad or roller. Work in small sections and keep the surface evenly wet for the dwell time stated by the manufacturer. The aim is to allow the sealer to enter the pores, not to build a visible layer on top.
Porous stone may need a second coat. If so, it is often applied while the first coat is still wet, but only if the instructions specify this. More sealer is not automatically better. Stone that has stopped absorbing product should not be flooded with another coat.
5. Remove all excess before it dries
This is the step most often missed in DIY sealing. Before the product dries on the surface, wipe and buff away every trace of excess with clean, dry cloths. Change cloths as they become saturated.
Leftover sealer can dry as a tacky haze, shiny patches or visible roller marks. It may also attract dust and make the floor look worse than it did before. If residue dries, removal can require a specialised stripping process, so it is far easier to prevent it.
6. Respect the curing period
Keep feet, furniture, water and cleaning products away for the period listed on the label. Some sealers feel dry quickly but take longer to achieve full resistance to spills. In showers, laundry areas and outdoor spaces, do not return the surface to regular use until it has cured as specified.
Extra care for bathrooms and outdoor stone
Bathrooms need sensible expectations. Sealed stone walls and floors are easier to maintain, but shower areas still need regular cleaning, good ventilation and prompt attention to soap residue. Use a pH-neutral stone cleaner rather than a general-purpose spray, and avoid leaving wet bathmats against a stone floor.
For outdoor tiles, choose a breathable sealer designed for external exposure. Brisbane’s rain, heat, pool water, leaf litter and humidity can be tough on porous stone. Check that the finished surface will retain suitable slip resistance, particularly around pools, steps and entries. A product that darkens stone may also make a shaded patio look different after rain, so testing is essential.
How often should stone tiles be resealed?
There is no fixed calendar rule. Wear depends on the stone, sealer quality, foot traffic, cleaning habits and exposure to water and weather. A sheltered stone wall may stay protected for years, while an outdoor entertaining area or busy kitchen floor may need attention sooner.
Watch for water soaking in and darkening the stone more quickly than before, or for spills becoming difficult to clean. Clean the surface thoroughly before resealing. Applying fresh sealer over soap residue, grease or failed topical coatings will not improve the result.
If your stone is newly installed, unusually porous, in a wet area or part of a larger renovation, it is worth getting the sealing plan right before the room is put back into use. Careful preparation and a suitable product will protect the finish while letting the stone look like stone - which is the point of choosing it.


Comments